In this post we are going to layout some extra steps in order to make creating more levels easier, we are also going to create a menu for starting the game.
Menu
Create a new scene and save it as Menu, we are going to create a canvas for UI elements, create a button and set the pos y to -40, change the text in the text child of the button to say Start. Add the LevelLoad script to the button add the event to the button in the same manner as the last post, click the plus to add an event and drag the button into the space, look for the LoadLevel function and change the number to 1.
Add the Menu scene to the scenes in build but make sure that the menu is at index 0, the scene at index 0 is the scene that will be loaded when someone opens the built game, we will be building the game in another post.

We are now going to edit the camera object, change the clear flags to single color. This will change the background to a single color.

The final step for the menu is to create a Title text, create a text object ensuring that it’s a child of the canvas. Set the text color to black, font size to 40 and the horizontal and vertical overflow to overflow. Set the pos y of the text to 30. This is how the menu should look,
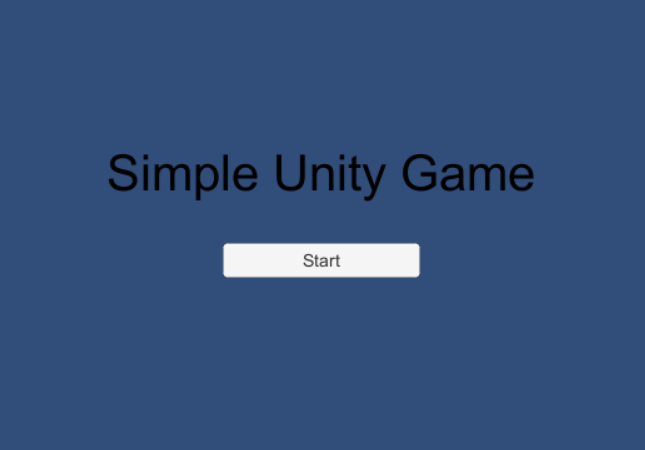
If you press play and click the start button, you will be sent to Level_1. Save the Menu scene and open Level_1.
Prefabs
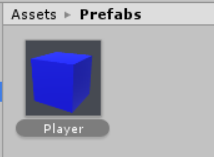
If we were to add more levels to the game it would involve have to individually create all of the components again(except the scripts and materials). There is a way to store game objects in the project folder for reuse in any scene, that is a prefab. Create a folder for Prefabs called Prefabs.
Let’s start with the player, drag the player object to the Prefabs folder, we now have the player as a prefab which we can use in later levels. You will also notice that the player object name in the hierarchy has turned blue.
All of the references to objects in the scene will be removed from the player prefab when it is made into a prefab.
Drag the wall, key, respawn point, waypoint, enemy, key, door, ground and victory point objects down into the prefabs folder as well. Drag the canvas into the prefabs folder, this will make all of the children of the canvas prefabs as well.
If we are going to have multiple levels, then we need a way to access the next level when we complete the level. Duplicate the restart button in the scene and rename it Next Level Button. Change the text in the child to Next Level. This button should function like the other button but the idea is that you would add the number for the next level in there. Change the pos y of the restart button to 40.
We are going to make a slight change to the Victory script in order to make the next level button appear when we complete the level.
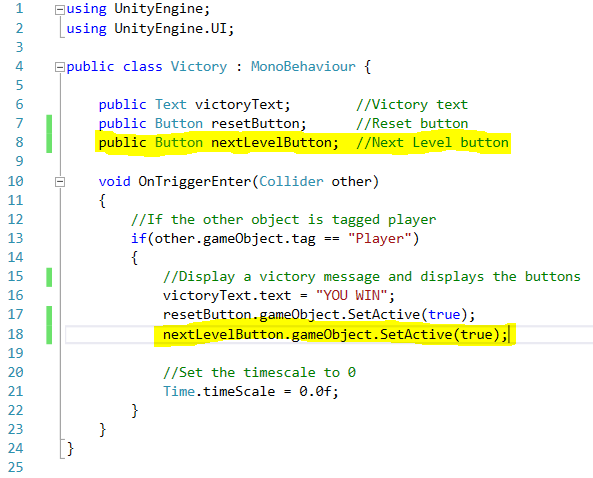
This will allow the next level button to appear when the level is completed which in turn will allow you to move to the next level.
Applying changes to prefabs
We added this button to the canvas but it is not part of the prefab, at least not yet. What we are going to do is click apply on the canvas object in the hierarchy.
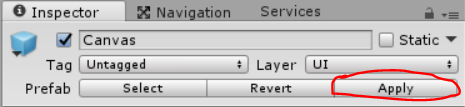
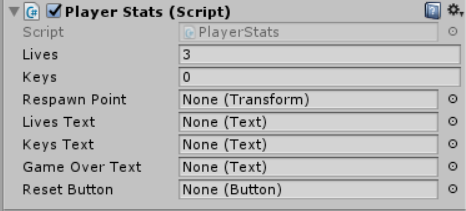
This will apply any changes made on a prefab in the scene to the prefab data as changes in scene are not applied automatically. Be sure to add the reference to the next level button in the victory point object in the scene and also make sure that the LoadLevel event on the restart button matches the number of the current level in the build settings.
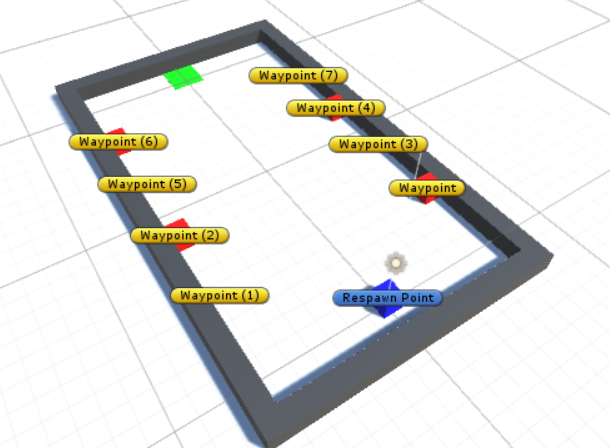
With all of these extra features set up we can now create more levels easily. Here I have another quick level as an example of how you can just drag and drop prefabs into the scene in order to create a level.
Be sure to build the lightmap and the navigation mesh. You may have noticed in the UI post that another object called the event system was created as well. This is need to manage interaction with UI but when we brought our canvas prefab in an event system wasn’t created so go to Create -> UI -> Eventsystem. Add the camera controller to the camera and set up the reference to our player.
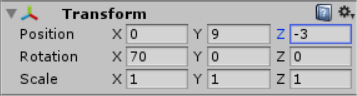
The camera position still need to be changed from the default, we are going to copy the values from the first level. Save Level_2 and open Level_1, go to the camera and click the gear at the transform, select copy component then open Level_2 and select the gear on the camera in that scene and select paste component values.
Make sure to add Level_2 to the build settings and set the next level button in Level_1 to 2. You can add more levels if you so choose but the point is that making new levels is significantly easier with the use of prefabs. For the last post of the tutorial, we will talk about building the game and showing some extra coding features.